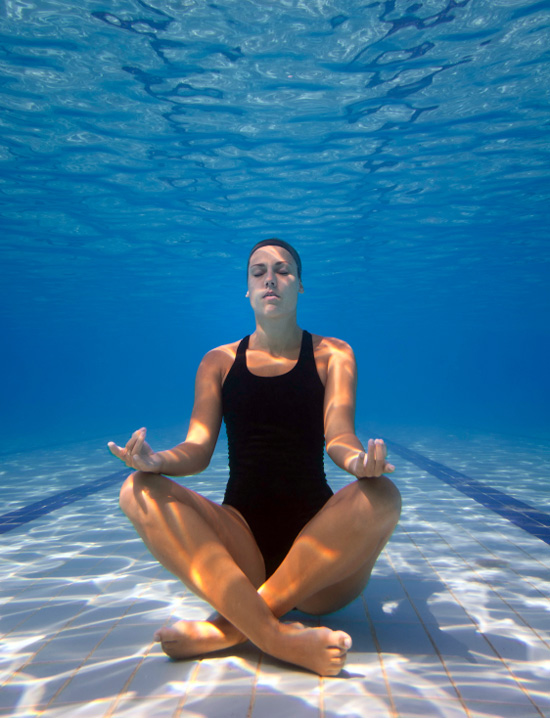
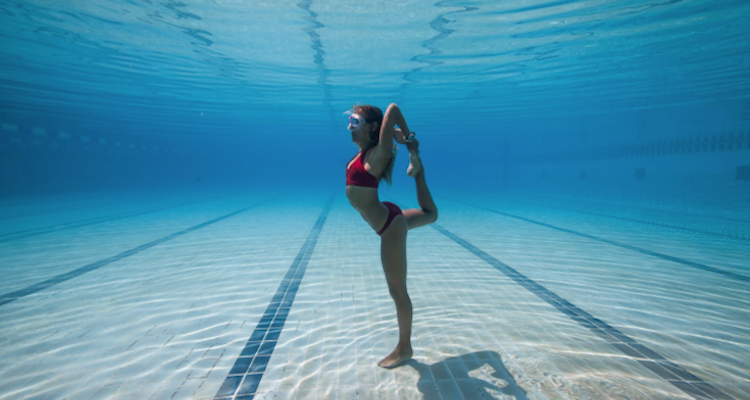
Yoga for Swimmers

Hey there, water lovers! Ready to make some waves both in the pool and on the yoga mat? Whether you're a lane-chasing, flip-turning pool shark or just love a good splash, combining the fluid power of swimming with the serene stretchiness of yoga is like peanut butter meeting jelly—deliciously perfect! Come with Everyday Yoga, grab your swim cap and your mat, because we're about to take a deep breath and plunge into the world of Yoga for Swimmers!
Why Do Swimmers Need a Bit of Yoga Zen?
Swimming is the ultimate full-body workout, but all that stroking and kicking can leave your muscles tighter than a clam's shell. From freestyle to butterfly, your epic aquatic action works every muscle group, which means you need some serious TLC to keep things smooth and supple. That's where yoga floats in, ready to be the buoy to your battleship, helping to stretch out those swimmer muscles and keep your joints jubilant.
Yoga's Poolside Poses for Making a Splash
If you're looking for an intense strength-building practice, try Ashtanga, Bikram, or Power Yoga. If you'd like stretching with more flow, try Vinyasa or Hatha Yoga. Play around with different styles and teachers until you find a good fit.
Grab your goggles, because these aqua-awesome yoga poses are sure to complement your swim sesh and have you gliding through the water like a dolphin at play:
Full-Body Strengthener: Extended Side Angle Pose

Extended Side Angle Pose — Parsvakonasana (PARZH-vuh-ko-NAHS-uh-nuh) — relieves stiffness in the shoulders and back. It also strengthens the legs while stretching and toning the abdominal muscles.
- Extend your arms sideways to shoulder-height. Spread your feet so that they are as wide apart as your wrists. Turn your right leg out 90 degrees so your toes point to the top of your mat. Bend your right knee until your right thigh is parallel to the floor (you may need to widen your stance). Keep your right knee directly over your heel. Slightly turn in your left toes. Align the heel of your right foot with the arch of your left foot.
- Keep your back leg straight. Inhale and draw your left hip slightly forward.
- Exhaling, lower your right arm to rest on your right thigh.
- Reach your left arm up towards the ceiling, and then extend your arm over the top of your head. Your left bicep should be over your left ear, and your fingertips should be reaching in the same direction your front toes are pointing. Keep your chest, hips, and legs in one straight line, extended over your front leg.
- Turn your head to look up at the ceiling. Keep your throat soft and your breathing smooth. Relax your face.
- To deepen the pose, place your front hand on the floor next to the arch of your front foot.
- Exhaling, slowly come up to a standing position with your arms extended at shoulder height. Turn your feet and body so they are facing the same direction, and then step your feet together. Repeat on the opposite side.
Shoulder Strengthener: Side Plank Pose

Side Plank Pose — Vasisthasana (VAH-shees-THAH-suh-nuh) — strengthens your wrists, forearms, and shoulders. It also tones the abdominal muscles and improves balance. Please avoid this pose if you have a serious arm, shoulder, or wrist injury.
- Start in Plank Pose (the top of a push-up): Palms flat, body extended, wrists directly underneath your shoulders. Bring your feet together and press your weight down through your right hand and forearm. Then, roll your body to the right, balancing on the outer edge of your right foot. Beginners can lower their right knee and shin to the mat, keeping their hips lifted while building strength in the arms and torso.
- Extend your left arm to the sky, reaching through your fingertips as you lift your hips and firm the triceps of both arms. Feel the muscles across your shoulder blades flex, firm your thighs, and press through your heels and into the floor.
- Bring your body into one straight line. Gaze at your top thumb.
- Hold for up to a minute. Exhale as you release, slowly coming back into Plank Pose and then onto your hands and knees. Repeat on the opposite side.
Full Body Stretch: Upward Bow Pose / Wheel Pose

Upward Bow Pose (also sometimes called "Wheel Pose") — Urdhva Dhanurasana (OORD-vuh DAHN-yoor-AHS-uh-nuh) — is a full body-opener that stretches the shoulders, chest, upper back, spine, and thighs. It opens the lungs, stimulates the thyroid and pituitary glands, and is known to be therapeutic for asthma and mild depression. Do not practice this pose if you have a back injury or severe carpal tunnel syndrome.
- Begin by lying flat on your back with your arms at your sides. Bend your knees, keeping your feet parallel and aligned with your hips. Draw your heels close to the edges of your buttocks.
- Reach your arms up overhead, and then bend your elbows so that you can place your palms on the floor at either side of your head. Keep your forearms parallel as you extend your fingers toward your heels. Reach your elbows directly up toward the ceiling.
- Inhale as you press your feet firmly into the floor and lift your hips upward toward the ceiling. Contract your buttocks, thigh, and abdominal muscles to support your lower back.
- Keep your feet and legs parallel. Press through the palms of your hands and lift your shoulders off the mat, bringing the crown of your head to the mat. Make sure your arms remain parallel — do not let your elbows splay to the sides. Hold for a few breaths.
- Exhale as you straighten your arms, lifting your head completely off the floor. Press the weight of your hands equally through your index fingers. Draw your chest toward the wall closest to your head.
- Do not rest your body weight on your head. Do not crunch your neck. As you gain strength and flexibility, you will be able to lift your head off the mat!
- Hold for up to twenty breaths. Release the pose by first bringing the crown of your head to the mat, and then your whole body.
Rest & Recovery: Bridge Pose

Bridge Pose — Setu Bandha Sarvangasana (SAY-too BAHN-duh shar-vahn-GAHS-uh-nuh) — is a chest- and neck-opening pose that helps reduce stress and anxiety. It calms the mind, and is known to be therapeutic for individuals with high blood pressure. Do not perform this pose if you have a neck injury.
- Lie on your back with your knees bent and feet on the floor.
- Press your feet and arms into the floor as you lift your hips toward the ceiling.
- Keep your thighs and feet parallel — do not roll to the outer edges of your feet or let your knees drop together. Roll your shoulders back and underneath your body. Clasp your hands and extend your arms along the floor beneath your pelvis.
- Hold for up to one minute, then exhale and release by slowly rolling the spine along the floor, vertebra by vertebra.
Yoga for Swimmer Stamina
Ride the Wave of Consistency: You don't need to be a yoga guru to get started—just like the best swims, it's all about consistent strokes. Dedicate a few minutes pre- or post-swim workout to stretching it out on the mat, and feel the difference in your swim.

Roll up Your Sleeves!
Swimmers, you're used to making waves, but it's time to make some bends and twists, too! Yoga is the secret sauce to keeping your swimming smooth, serene, and, most importantly, super fun. Go along the beach with Everyday Yoga, let us dive headfirst into a flow that’ll have you feeling as light as a jellyfish and as flexible as seaweed. Remember, both in the pool and on the mat, it's about the flow and the fun—so keep splashing and keep smiling!
Got your own aquatic yoga adventure or a favorite pose that feels like a warm hug after a cold dip? Share your stories and let's inspire a sea of swimmers to join the yoga wave through Everyday Yoga’s comment section. Keep paddling through your practice, and may your strokes be strong and your savasana be sweet!
See you on the mat!
Namaste!

